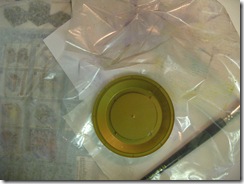
Choose your colouring media. I suggest something like diluted dyes, Brusho or coloured inks to begin with. You can use water colours too, but you must be more heavy handed than usual, you want a good depth of colour.
Start with a clean sheet of paper and just put some colour on. This picture shows a piece of the wet strength tissue. Can you see on the left how the colour is starting to 'bleed' into the surrounding area? I love the way this happens, it makes the transition between colours so much more gentle than on other surfaces.
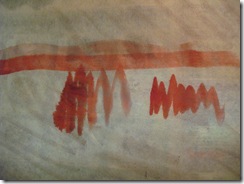
Add more water to the colour, just a little, and applied with the brush
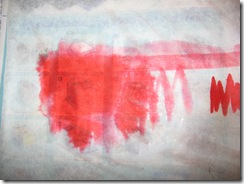
It will spread and the mismatched strokes become more integrated. Add other colours and more water until the page is covered
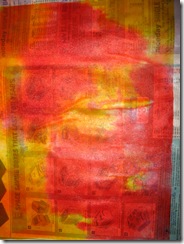
Before leaving it to dry you can take prints from the surface, sometimes two or three, just cover with another sheet (it could be a different sort of paper) and press gently all over with the back of your hand. Don't worry if these papers aren't fully covered at this stage.
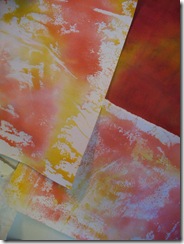
Put them to dry and paint some more. You can never have enough, you will want plenty to choose from so have fun colouring as many as you have room to dry! Don't stick to your favourite colours only, mix and match and start to produce a good stock. Don't forget the crumpled papers too, they will take the colour slightly differently. When they are dry they can be ironed on the reverse to flatten them. They will curl initially, but don't worry about this.
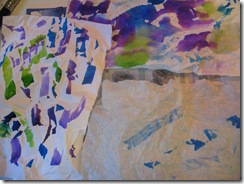
Enjoy, and watch out for part three coming soon.
Part one is here
3 comments:
This is so wonderful Myfanway. Thanks for showing
us how you make your art. I appreciate it.
Very interesting! Looks like something I might have to try!
How fun. I'll definitely try this. Thanks.
Post a Comment